VINYL GRAPHIC
INSTALLATION
Once your vehicle wrap or applied graphics are printed and ready to go, the next step is installation.
DESIGN
INSTALLATION
REMOVAL
THE PROCESS FOR INSTALLING ADHESIVE BACKED GRAPHICS
Installation of adhesive-backed graphics is no simple task. These large scale graphics require skill and expertise to install correctly and without contamination. So what does this whole installation process entail? Check the steps below.

WANT SOME MORE INFO ABOUT THE AP DESIGN PROCESS?
Here are the nitty-gritty details…
THE INSTALLATION PROCESS

-
1
RECEIVE PRINTED GRAPHICS
The first step in installation is the receiveing of the graphics to be installed. This includes the cataloging and review of the installatin directions. Ultimately, the goal at this stage is for installers to understand how the graphic will be installed as well as cataloging the prints to ensure everything is accounted for.
-
2
PREPARATION
With all the pieces in hand, the next step is to prepare the installation surface. This involves cleaning the surface with a mild cleaning agent to ensure minimal contaminants affect the installation.
-
3
GRAPHIC APPLICATION
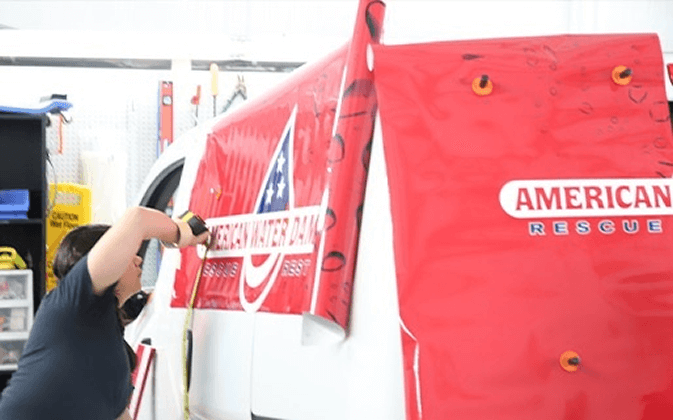
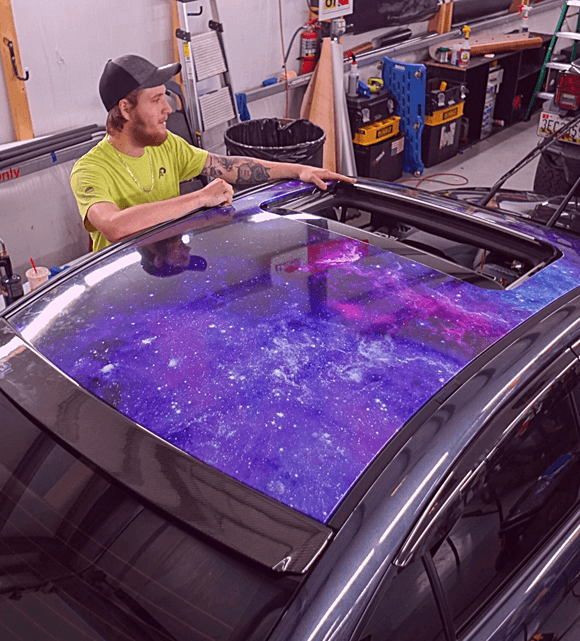
The installation phase itself involves careful lining up of graphics panels, applying the panels to the surface, stretching the vinyl to wrap around curves, and squeegeeing out excess water.
-
4
QUALITY ASSURANCE
During the installation of the graphics, our shop manager is performing quality assurance. This helps to create and deliver the highest quality finished product possible.
NEXT STEPS
Now that you learned about the process, it’s time to get in touch and start your project!

